Removing/ Stopping DirSync for Office 365
We have been looking after DirSync since last few blogs. Over here, I will discussion on how we can stop DirSync process when I required to stop it. Stopping or Removing DirSync is quite easy process with few command tricks. But before starting it, we need to have something… some tool that can help us to access our DirSync with the command line.
First of all, you need to get download and ‘Windows Azure Active Directory Module for Windows PowerShell’. To download ‘Windows Azure Active Directory Module for Windows PowerShell’ you can click on the link below:
https://support.microsoft.com/en-us/kb/2619062

Stopping Services:
Once you have downloaded the WAAD Module for the PowerShell, run it and run the command line below to generate access to your Azure Active Directory.
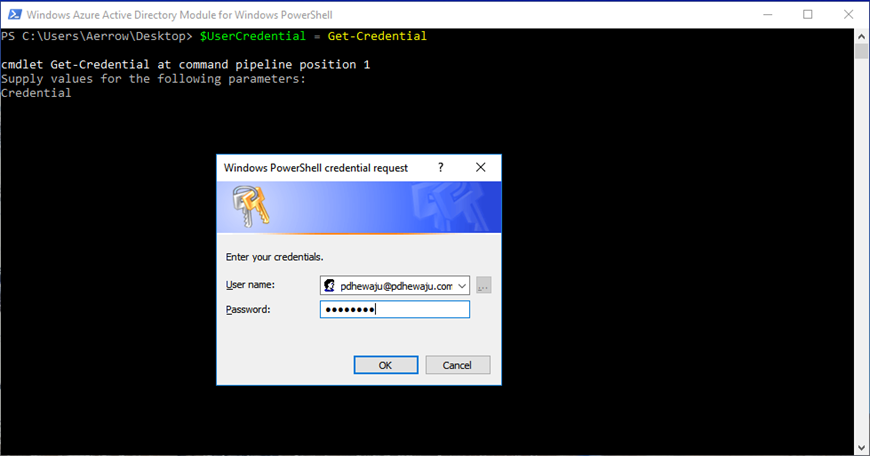
C:\users\Aerrow\Desktop>$usercredential=Get-Credential
A user credential will get prompt, provide your administrative user Credential and click on ‘OK’
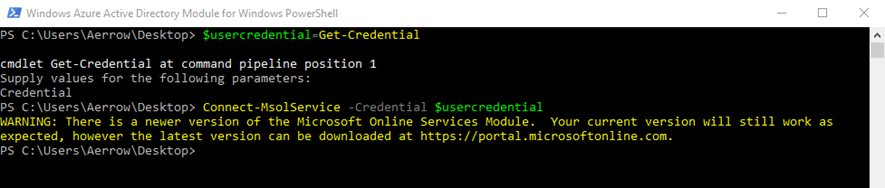
Once this is done, now connect to your Azure directory using the command line below with your credential.
c:\users\Aerrow\Desktop>Connect-MsolService -credential $usercredential
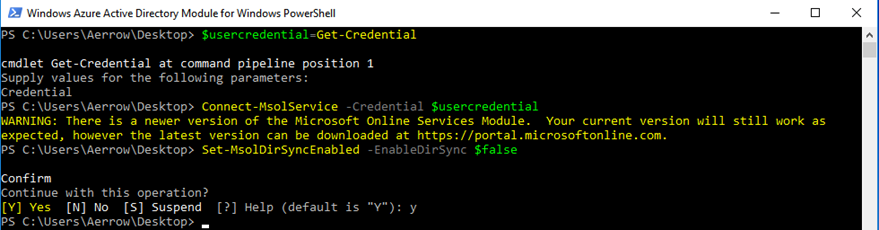
Once you are connected to you Windows AAD, run below command to stop the DirSync Process.
c:\users\Aerrow\Desktop>Set-MsolDirSyncEnabled -EnableDirSync $false
And type ‘Y’ to continue this operation
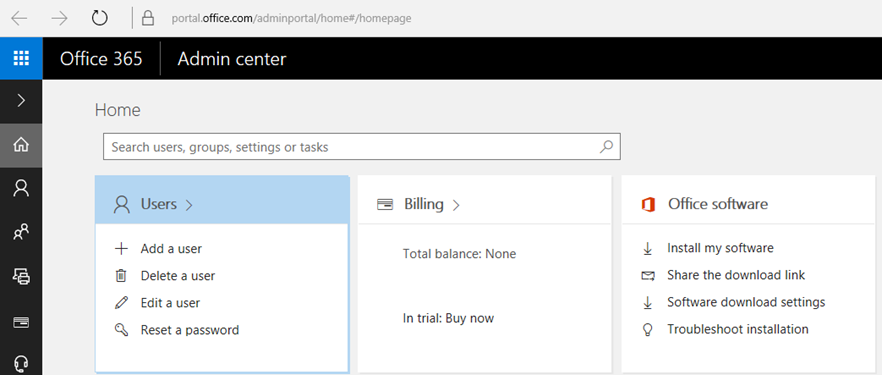
Once this command run successfully, now we are not able to see DirSync Health on your Home of Office 365 Admin Panel. This means now the Directory synchronization is stopped.
Uninstalling/Removing:
And if you want to remove the ‘Microsoft Azure Active Directory Connect’ you can just go to your server ‘Add/Remove Program’ or ‘appwiz.cpl’ and remove the Microsoft Azure Active Directory connect from your server.
I hope this blog was quite helpful, required any assistance please comment below 🙂


About Author
pdhewjau
Prashant Dhewaju is a Microsoft MVP and Microsoft 365 Adoption Consultant with deep expertise in cybersecurity and modern workplace solutions. He advises organizations across Nepal and the broader region on securely adopting Microsoft 365, improving productivity, strengthening security posture, and driving effective change management. His prior position as a Modern Work Security Specialist at Microsoft saw him providing invaluable guidance to major clients in Bangladesh, Brunei, Cambodia, and Myanmar, assisting them with their foundational security needs. Awarded the esteemed Microsoft Most Valuable Professional (MVP) accolade in 2017, Prashant is recognized globally among Microsoft peers. Since 2010, he has imparted his expertise as a Microsoft Certified Trainer (MCT), conducting specialized training across Nepal.