Part 2 – Configuring Exchange Backup on Azure
In the Part 1 of this blog, we have been through what we need to configure in Azure to make sure Exchange backup will get store over there. As well, we have been through the installation of Azure Backup Server on our on-premises server. Now on this blog Part2 – Configuring Exchange Backup on Azure is actually configuring Azure Backup Server to take backup of Exchange server Databases…. If I have to say, then it is no more different than DPM just with little tweak in the cloud portion. So, let’s go with the configuration part…
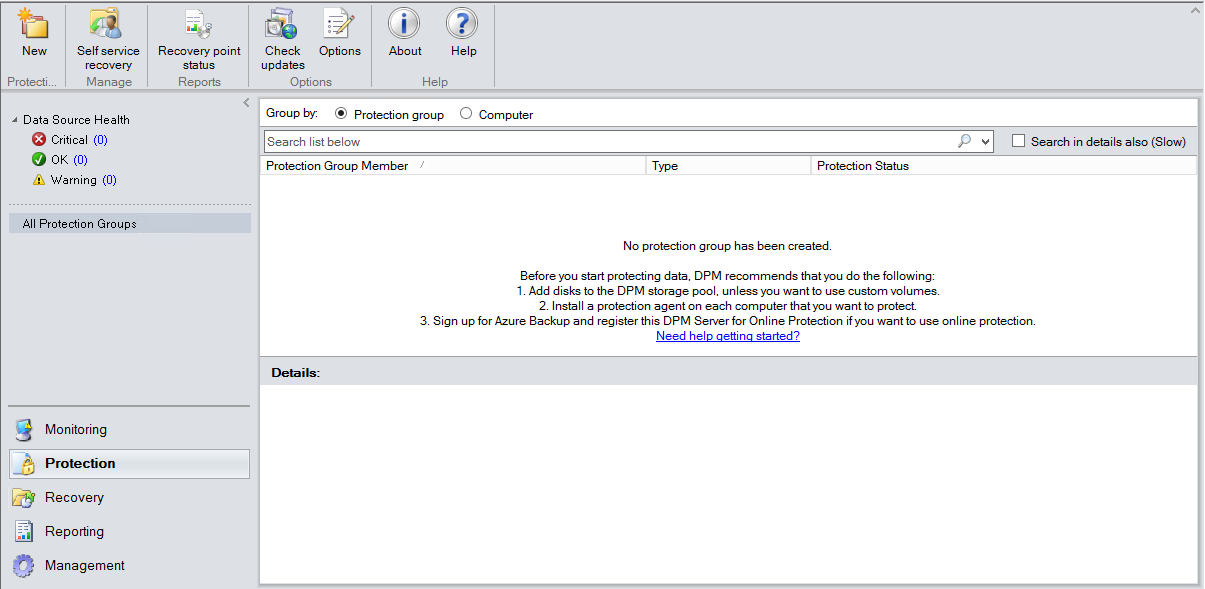
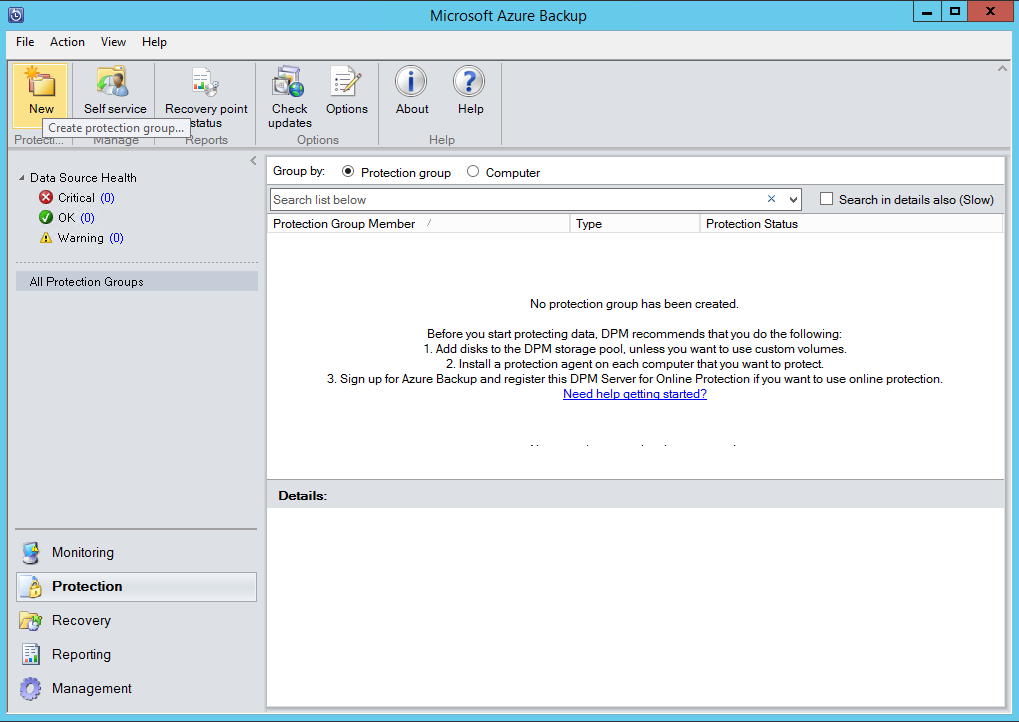
Once the installation of Azure Backup server is complete, you can open the console with the shortcuts in your desktop. Which will open you the management console no different than of SC DPM.
Preparing for Exchange server Backup:
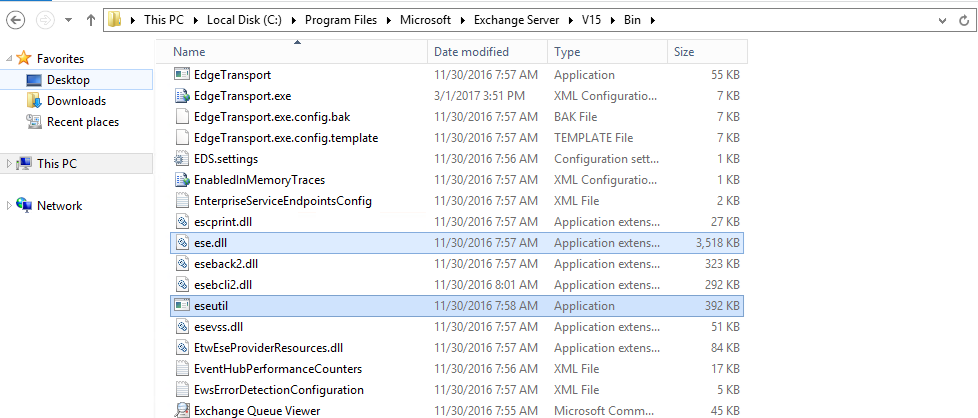
The next important thing to get configure your Azure Backup server to take the backup of Exchange server is to manage ESE.dll and eseutil.exe file. You actually need to copy these two file from the exchange server location below and copy it to Azure Backup server location
Copy Location from Exchange server
'C:\Program Files\Microsoft\Exchange Server\V15\BIN'
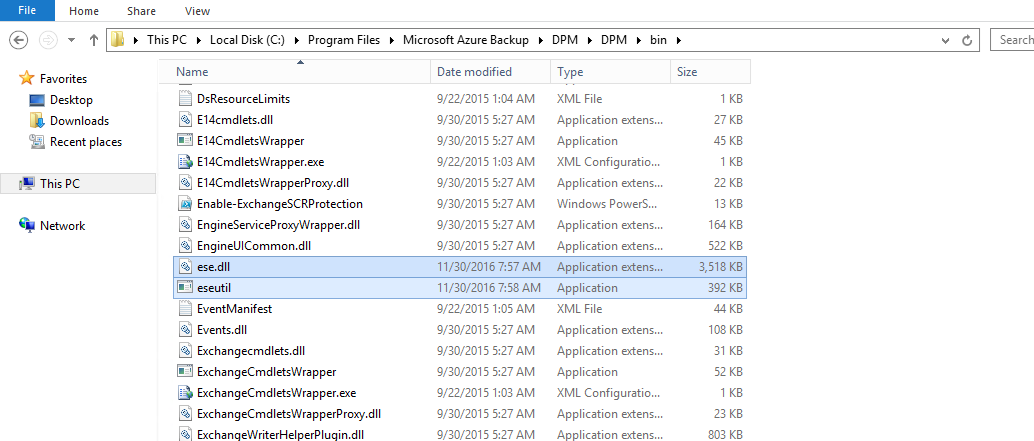
Paste Location to Azure Backup Server
'C:\Program Files\Microsoft Azure Backup\DPM\DPM\Bin'
Adding Disk:
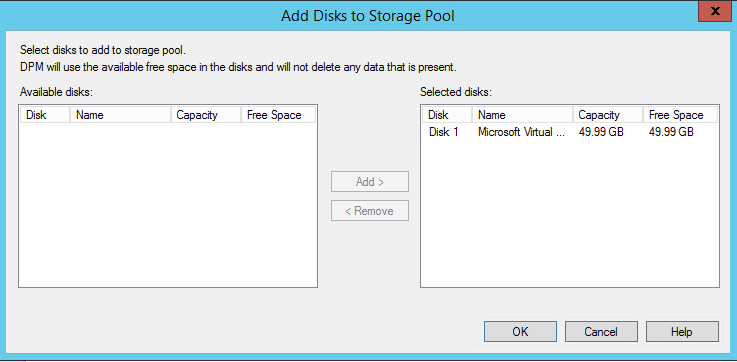
Starting the configuration, as explained on my earlier blog we will be requiring local disk for the backup of application using Azure Backup Server. So, let add a disk on our Microsoft Azure Backup Server. To add disk, Select ‘Management’ on lower left panel, and click on ‘Disks’ and click on ‘Add’ at the top Ribbon.
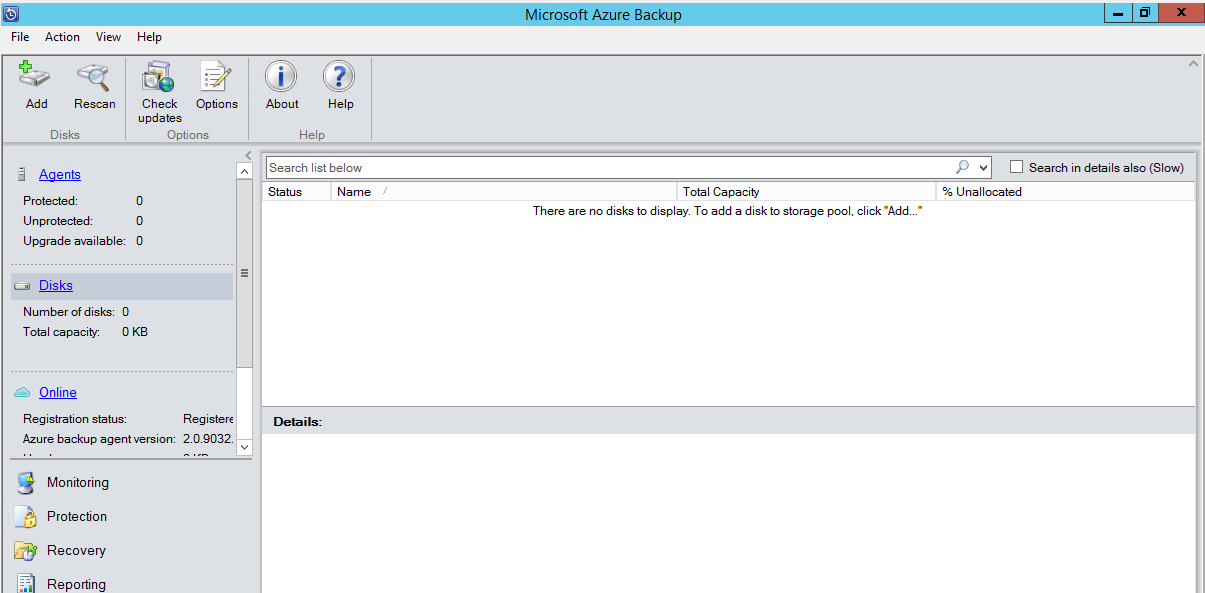
A new window will get open, select the disk you need to add and click on ‘Add’ to move on selected disk. Once done, click on ‘OK’.
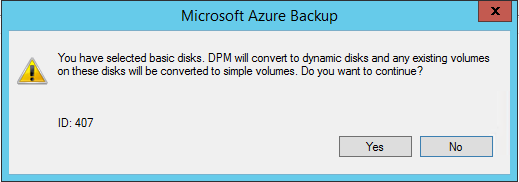
The disk which you are going to add on the Microsoft Azure Backup, it should be in RAW state. And when you add this disk, you will get warning for changing this disk into the dynamic Disk. Click ‘Yes’ to get continue.
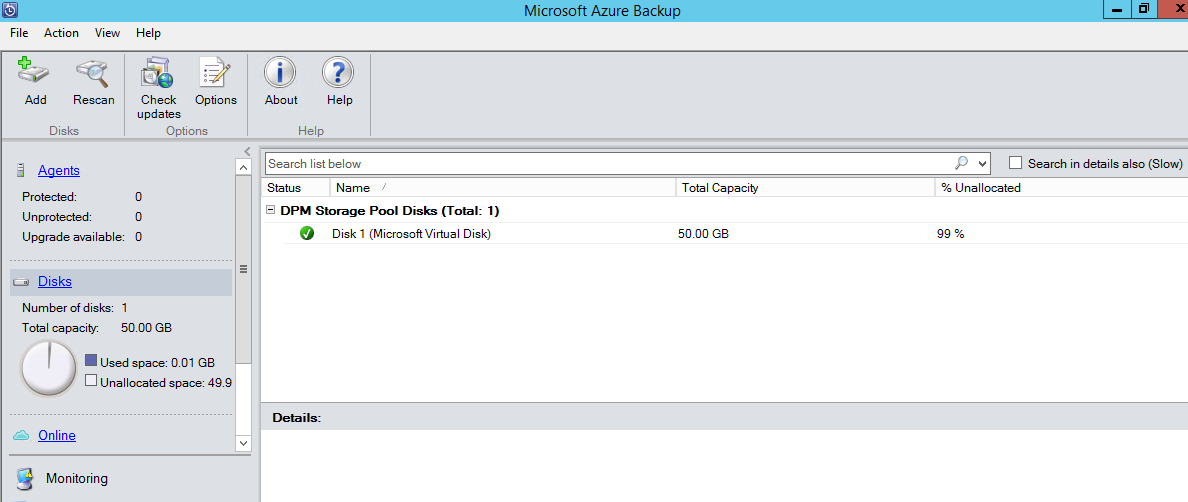
After adding up the disk, let’s install the agent on the Exchange server to make it protected and to take backup. (Note: Azure Backup Server Client is not ready for Windows Server 2016)
Installing Agent:
To install the agent, select in ‘Agents’ and click on ‘Install’ at the top of the ribbon.
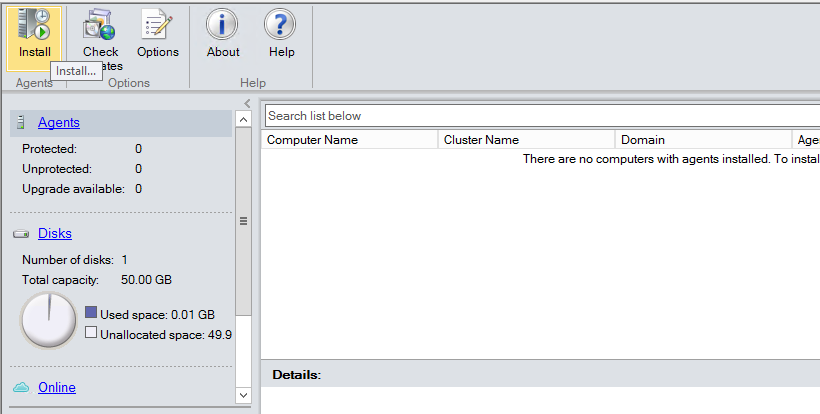
A new window will get open, for the deployment of the agent. Select the computer on which you want to deploy the agent and click on ‘Next’.
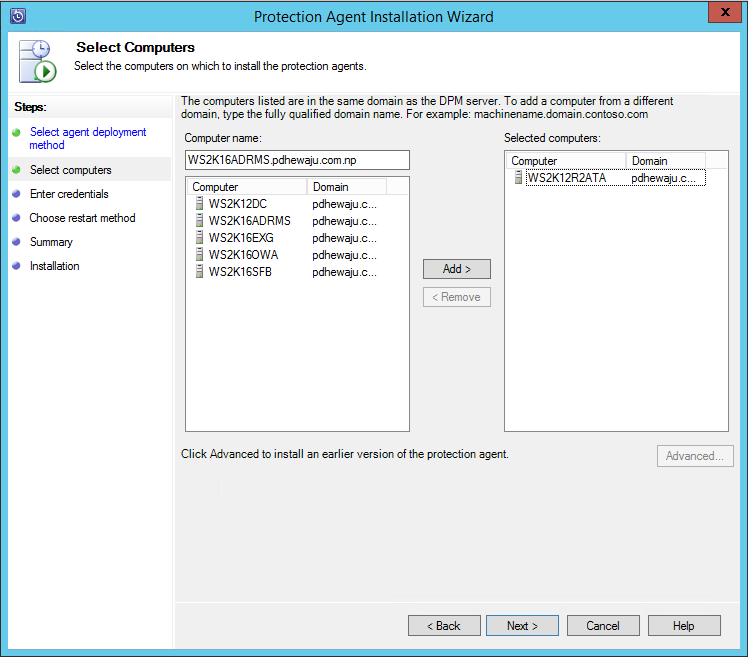
Provide the credentials by which you want to get Agents to be installed on the client machine.

So, here you need to choose the restart method after the installation of agent. After selecting any one of it click on ‘Next’.

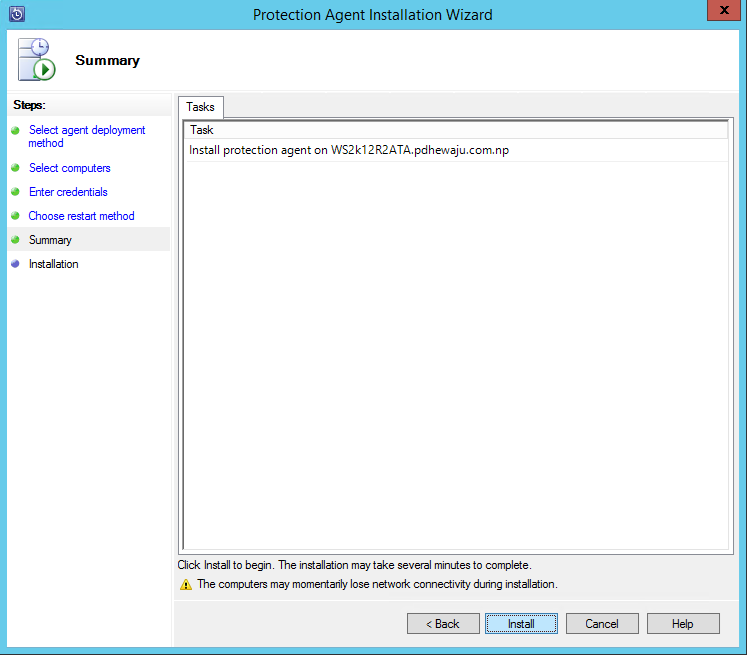
Click ‘Install’ on the summary.
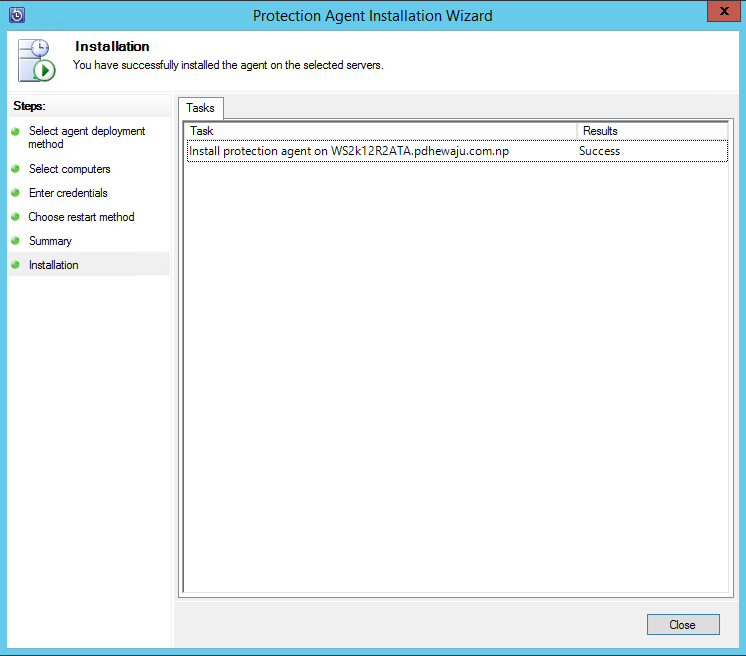
It will take while to get complete the installation of Agents on client machine. After completion click on ‘Close’.
Protecting Exchange Server:
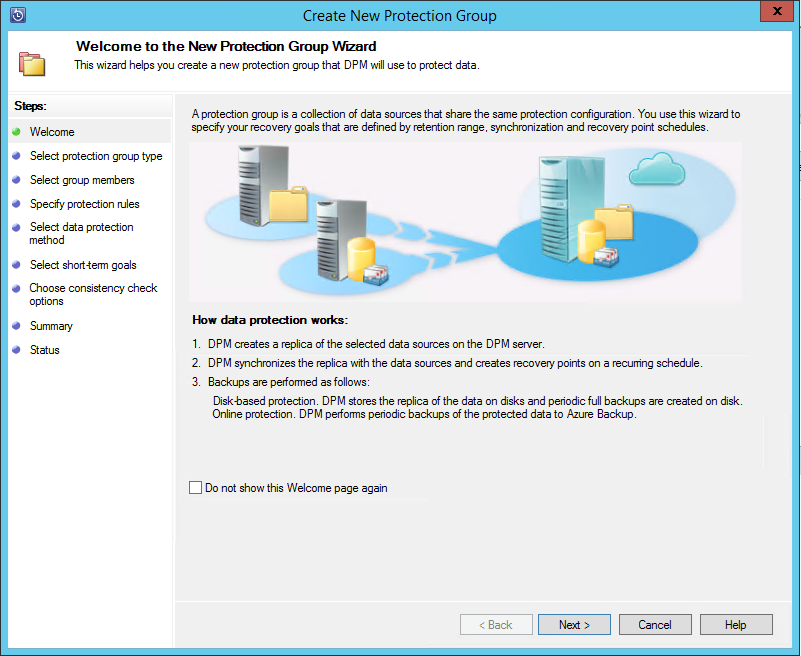
To get protect the server, click on ‘Protection’ lower left panel and click on ‘New’ on the top ribbon.
A new window will get open to create a ‘New Protection Group’.
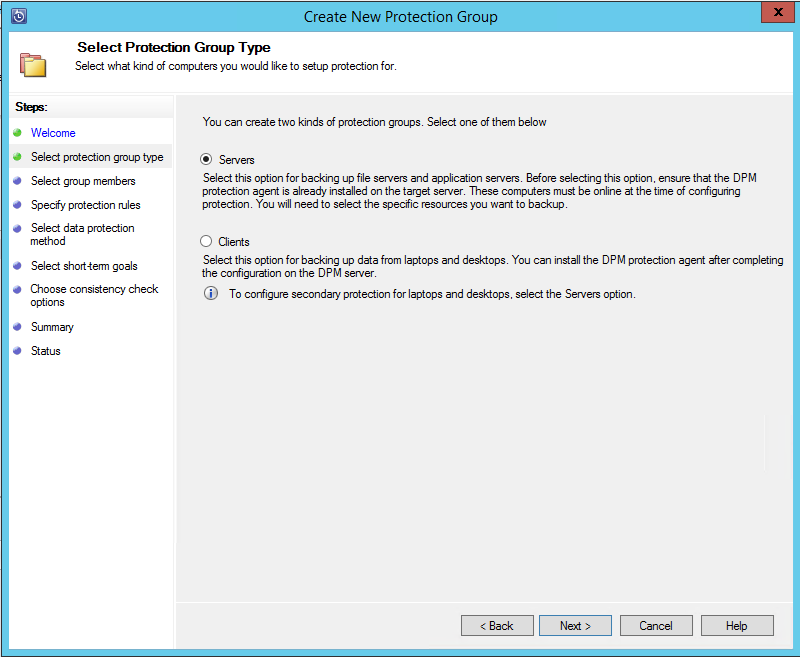
Select the protection Group Type, whether it be Client or Server. In our case Exchange is the server, we select ‘Servers’ and click on ‘Next’.
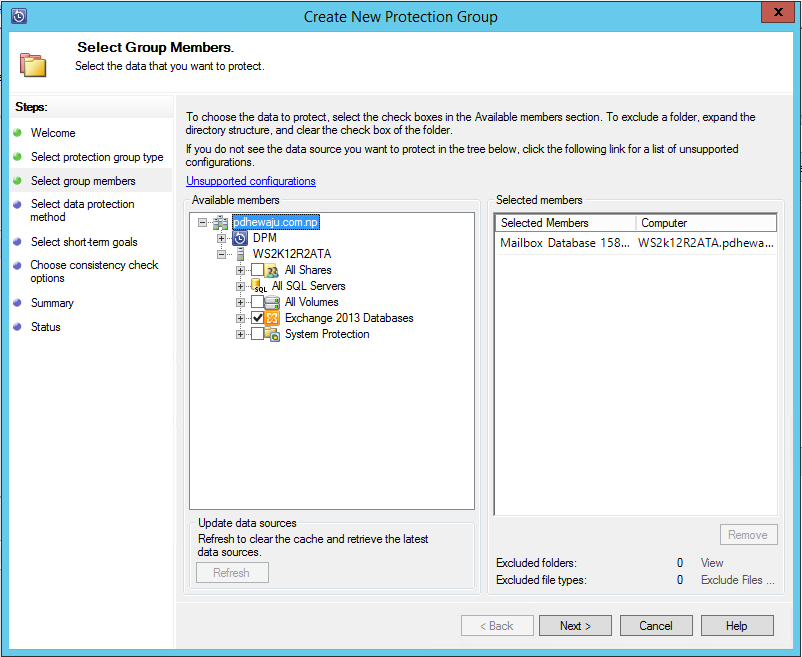
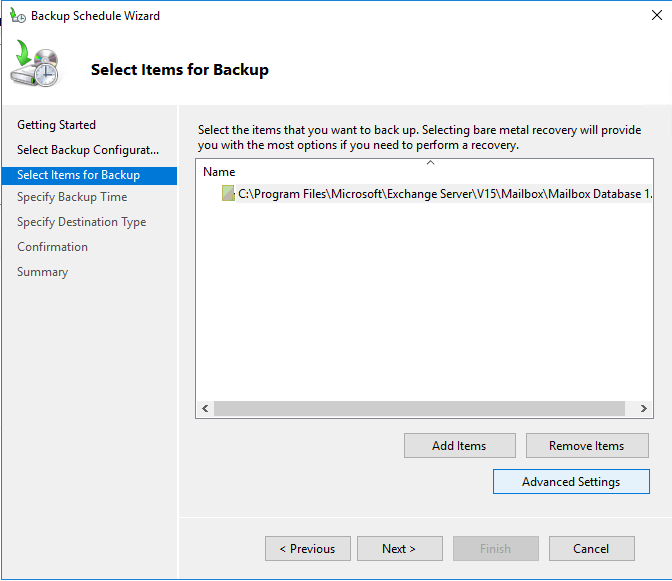
Over on this select Group member, expand the Exchange server. You will get the information something like ‘Exchange 2013 Database’ although it is Exchange 2016. Select it to take backup and click on ‘Next’. Do not worry about it.
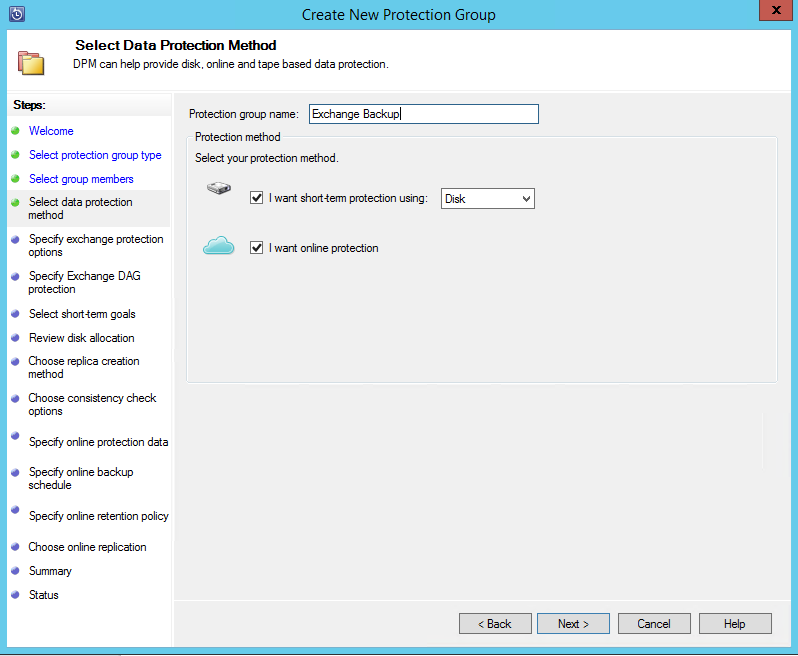
Provide the name of the Protection Group. And as we are going to take backup on the cloud too, select both as on the snap with the ‘Disk’ option. As we do have the disk added for the protection.
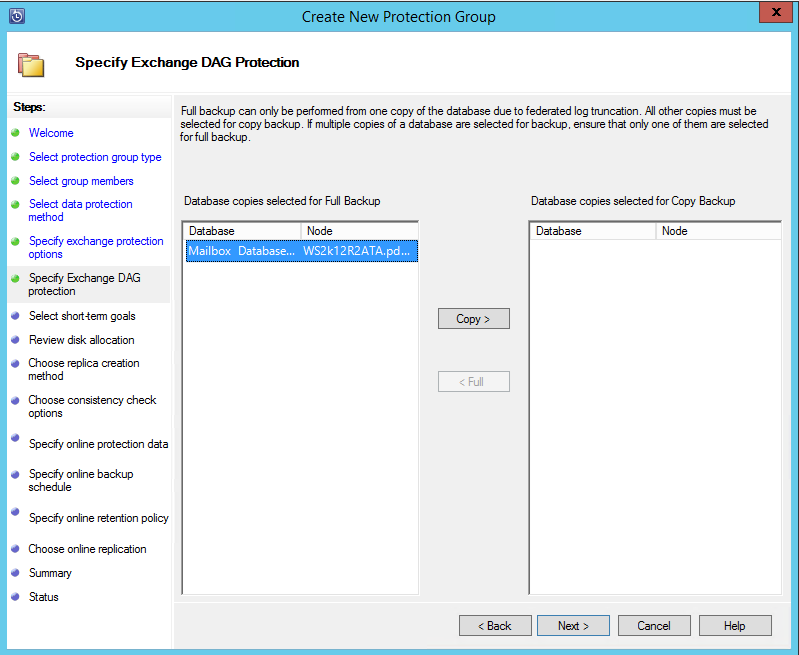
On the ‘Specify Exchange Protection Options’ I have selected as of below and clicked on ‘Next’.

Over here, I have provided the option for the Full Backup and clicked on ‘Next’.
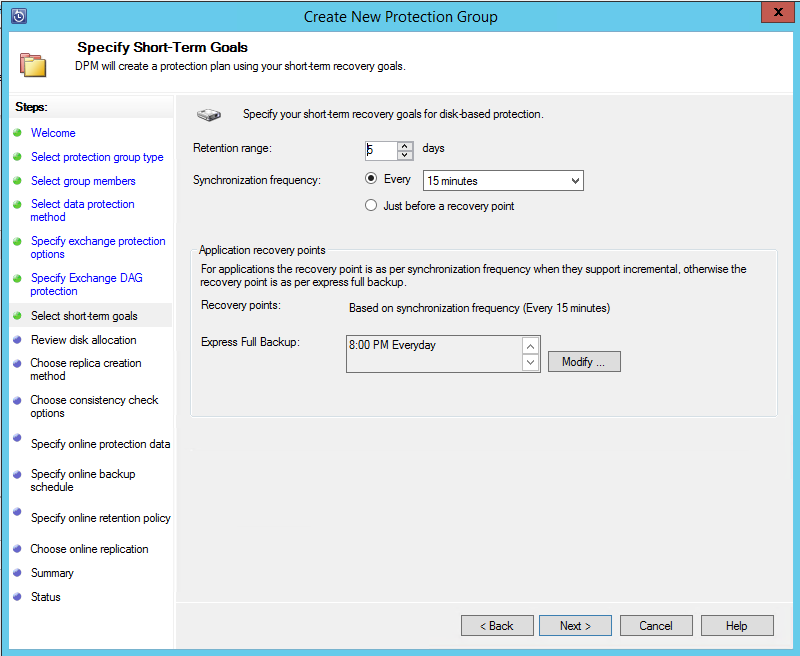
For ‘Short Terms Goals’ you can set the retention range of the backup and also synchronization frequency to check the consistency of the Backup.
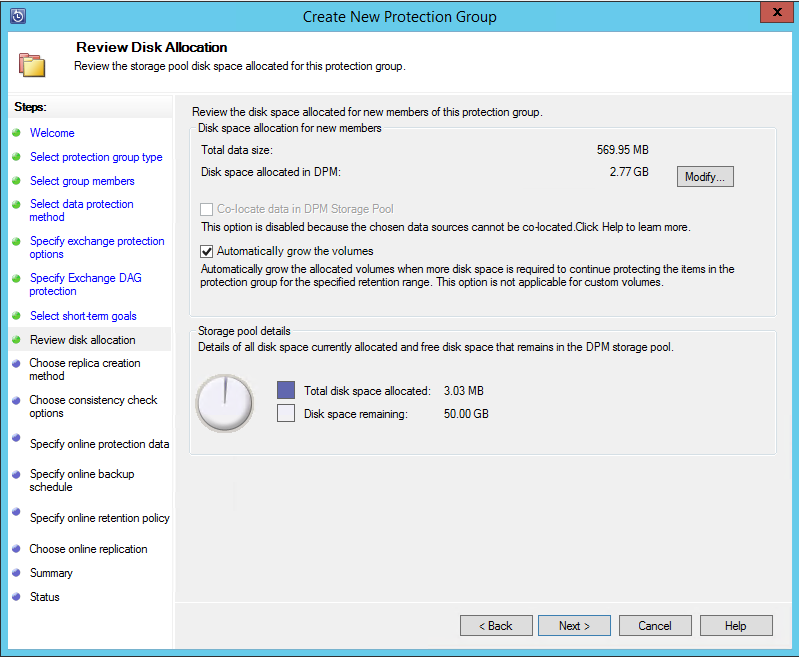
On “review Disk Allocation’ check the status of the Disk for the backup and clicked on ‘Next’.
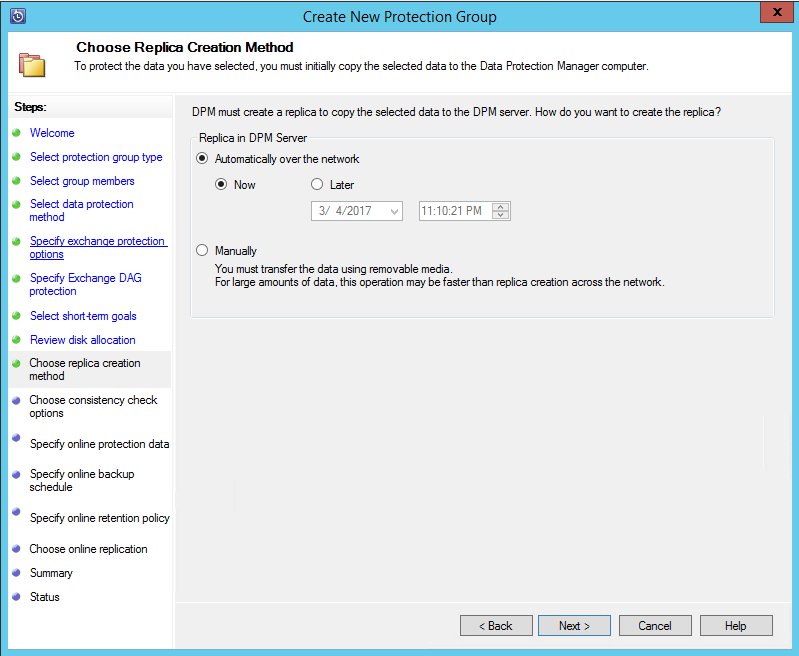
I choose Replica Creation Method as ‘Now’ and clicked on ‘Next’.
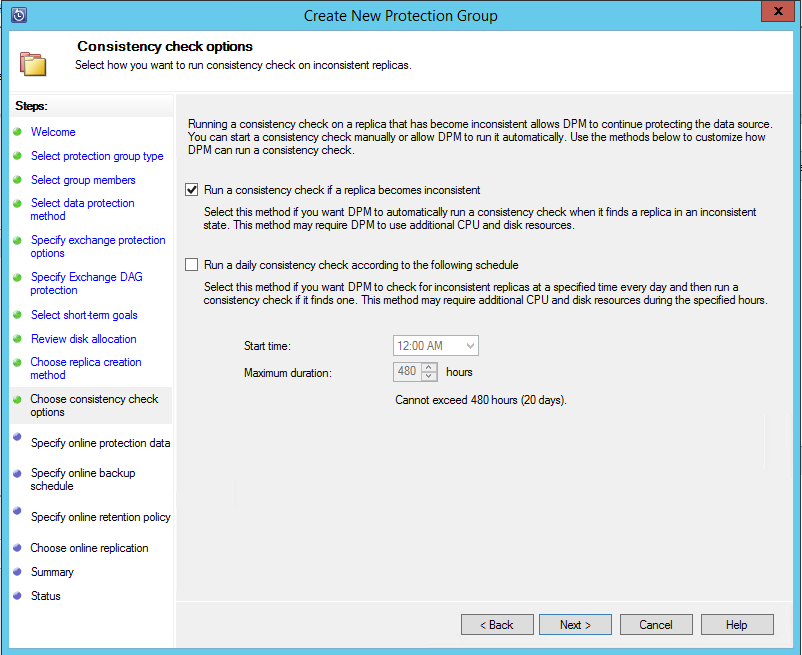
For ‘Consistency check options’ selected ‘Run a consistency check if a replica become inconsistent’ and clicked on ‘Next’.
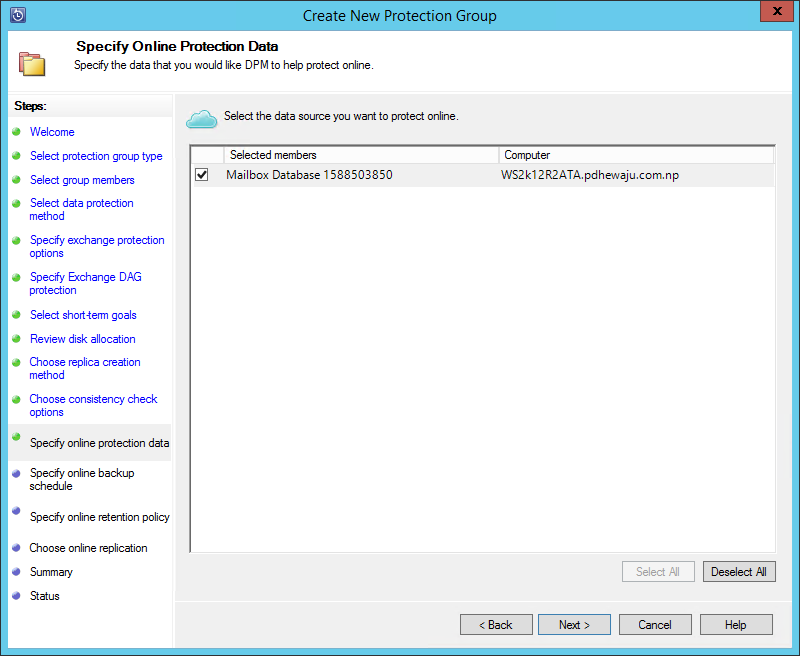
Select the Data source you want to protect online and click on ‘Next’.
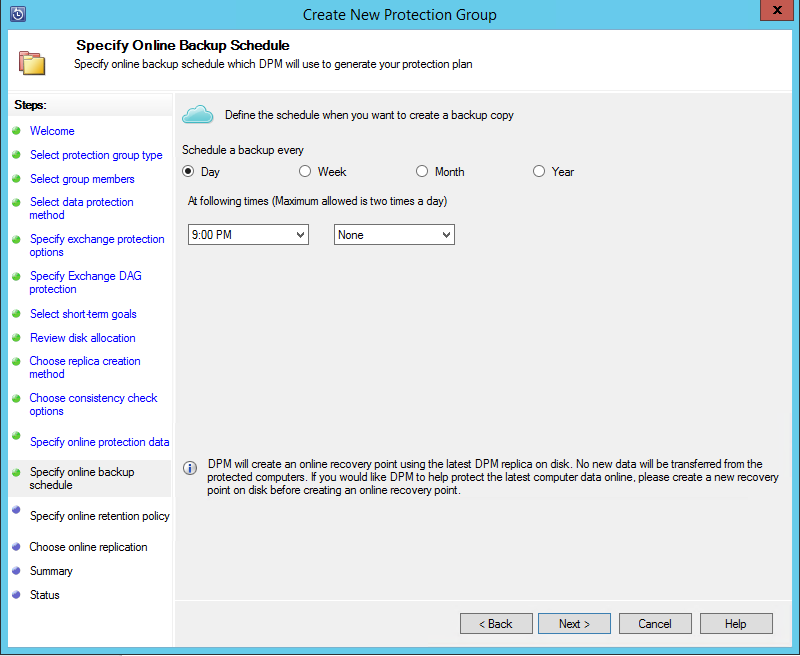
So, how frequent you would like to take online of this backup. Define the Backup Schedule and click on ‘Next’.
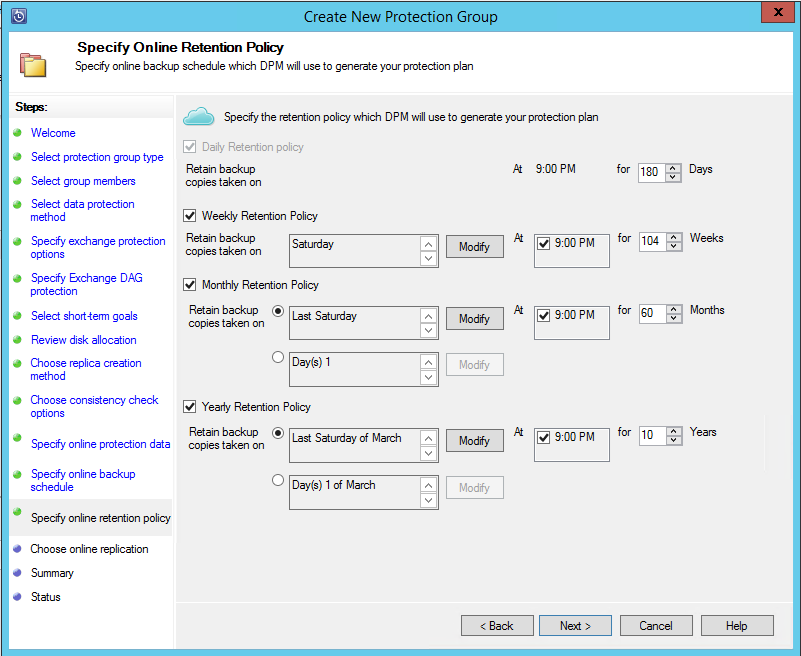
Specify the retention policy on the cloud for Week, Month and Year, then click on ‘Next’.
For online replication, I just choose ‘ Automatically over the Network’

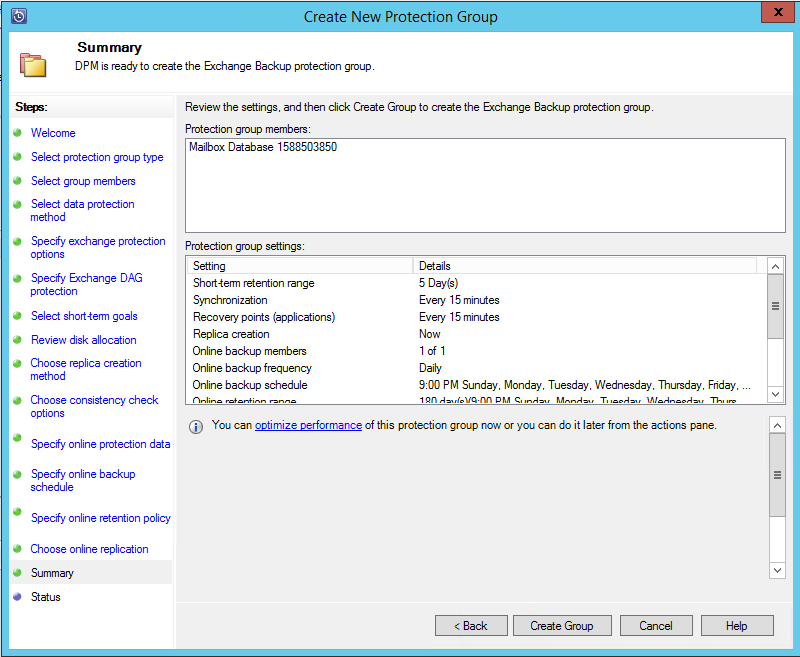
Go through the summary page, if you do have anything to make change and click on ‘Create Group’ if it is done.
It will take while to check the consistency of the mailbox and to create a protection group. After completion you can click on ‘Close’.

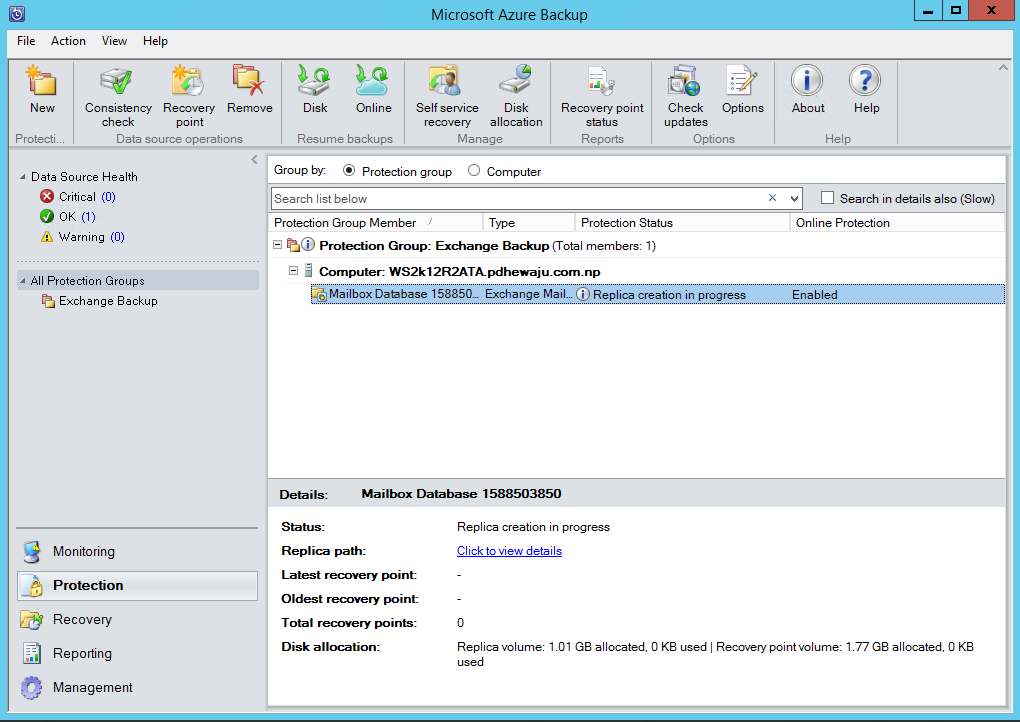
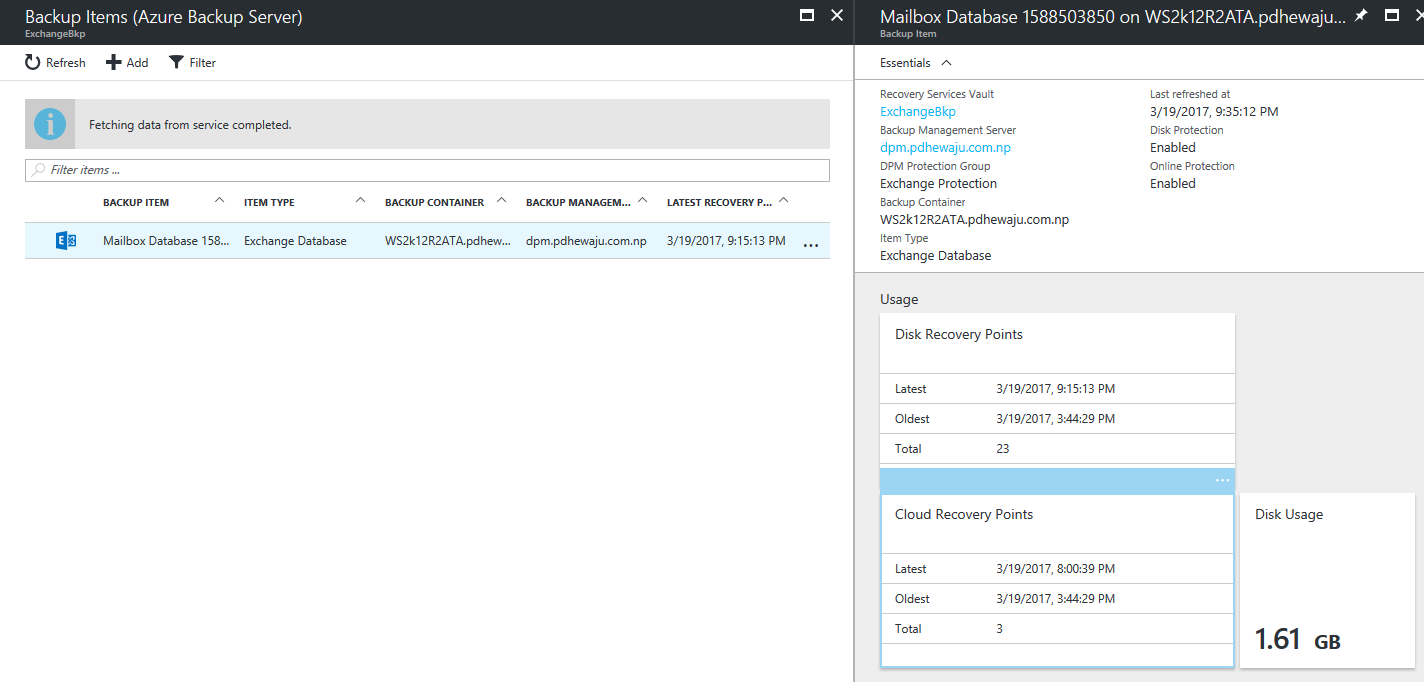
Now, on the protection group you can see something like this for your exchange server.
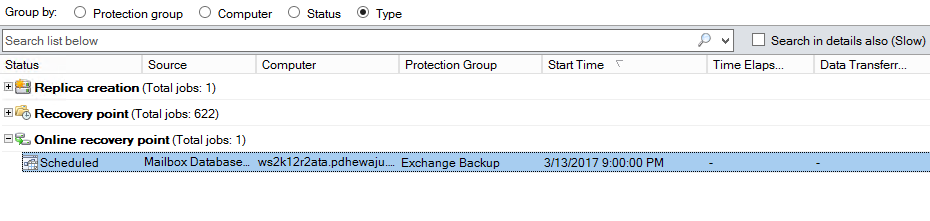
And for the online recovery point you can see something like this…
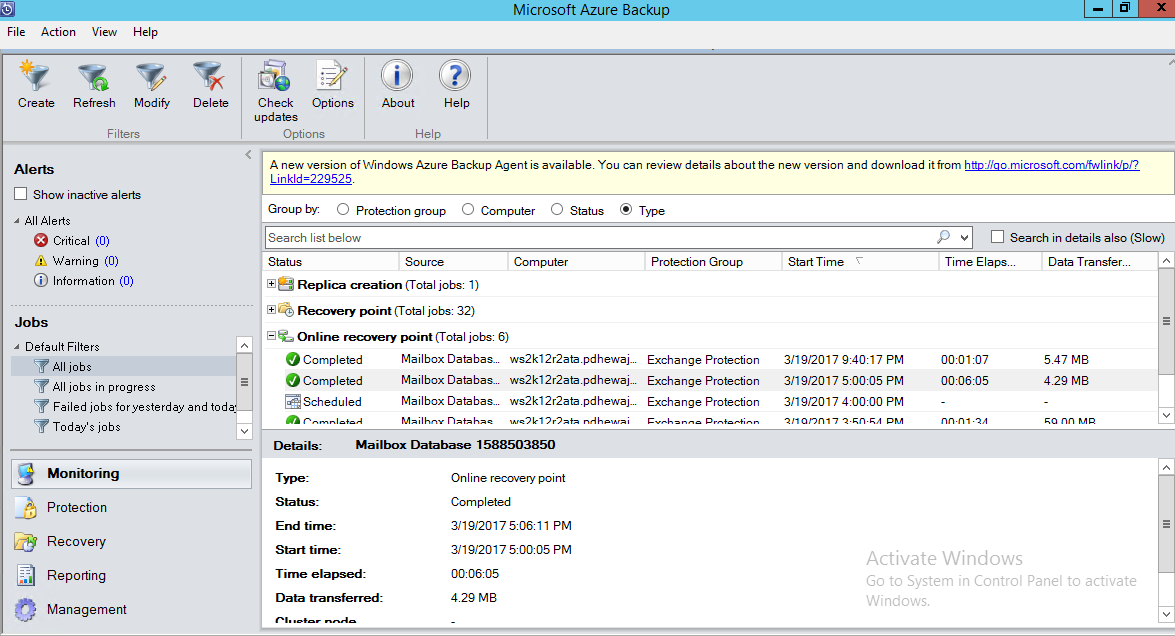
 On completion of successful backup, you see something like this on you jobs…
As well on the Azure portal, if you go and check, now you can see the no.of successful backup on the cloud and the storage occupied by the backup.
This is how we can protect our on premises Exchange server database on the cloud. 🙂
Configure Backup for Exchange 2016 using Windows Backup

Exchange online PowerShell with Modern Authentication

Installing Exchange Server 2016 Step by Step
About Author
pdhewjau
Prashant Dhewaju is a Microsoft MVP and Microsoft 365 Adoption Consultant with deep expertise in cybersecurity and modern workplace solutions. He advises organizations across Nepal and the broader region on securely adopting Microsoft 365, improving productivity, strengthening security posture, and driving effective change management. His prior position as a Modern Work Security Specialist at Microsoft saw him providing invaluable guidance to major clients in Bangladesh, Brunei, Cambodia, and Myanmar, assisting them with their foundational security needs. Awarded the esteemed Microsoft Most Valuable Professional (MVP) accolade in 2017, Prashant is recognized globally among Microsoft peers. Since 2010, he has imparted his expertise as a Microsoft Certified Trainer (MCT), conducting specialized training across Nepal.